Wednesday 16 January 2013

Fond Farewell

Swan Bay Quilters Friendship Quilt: 1988 
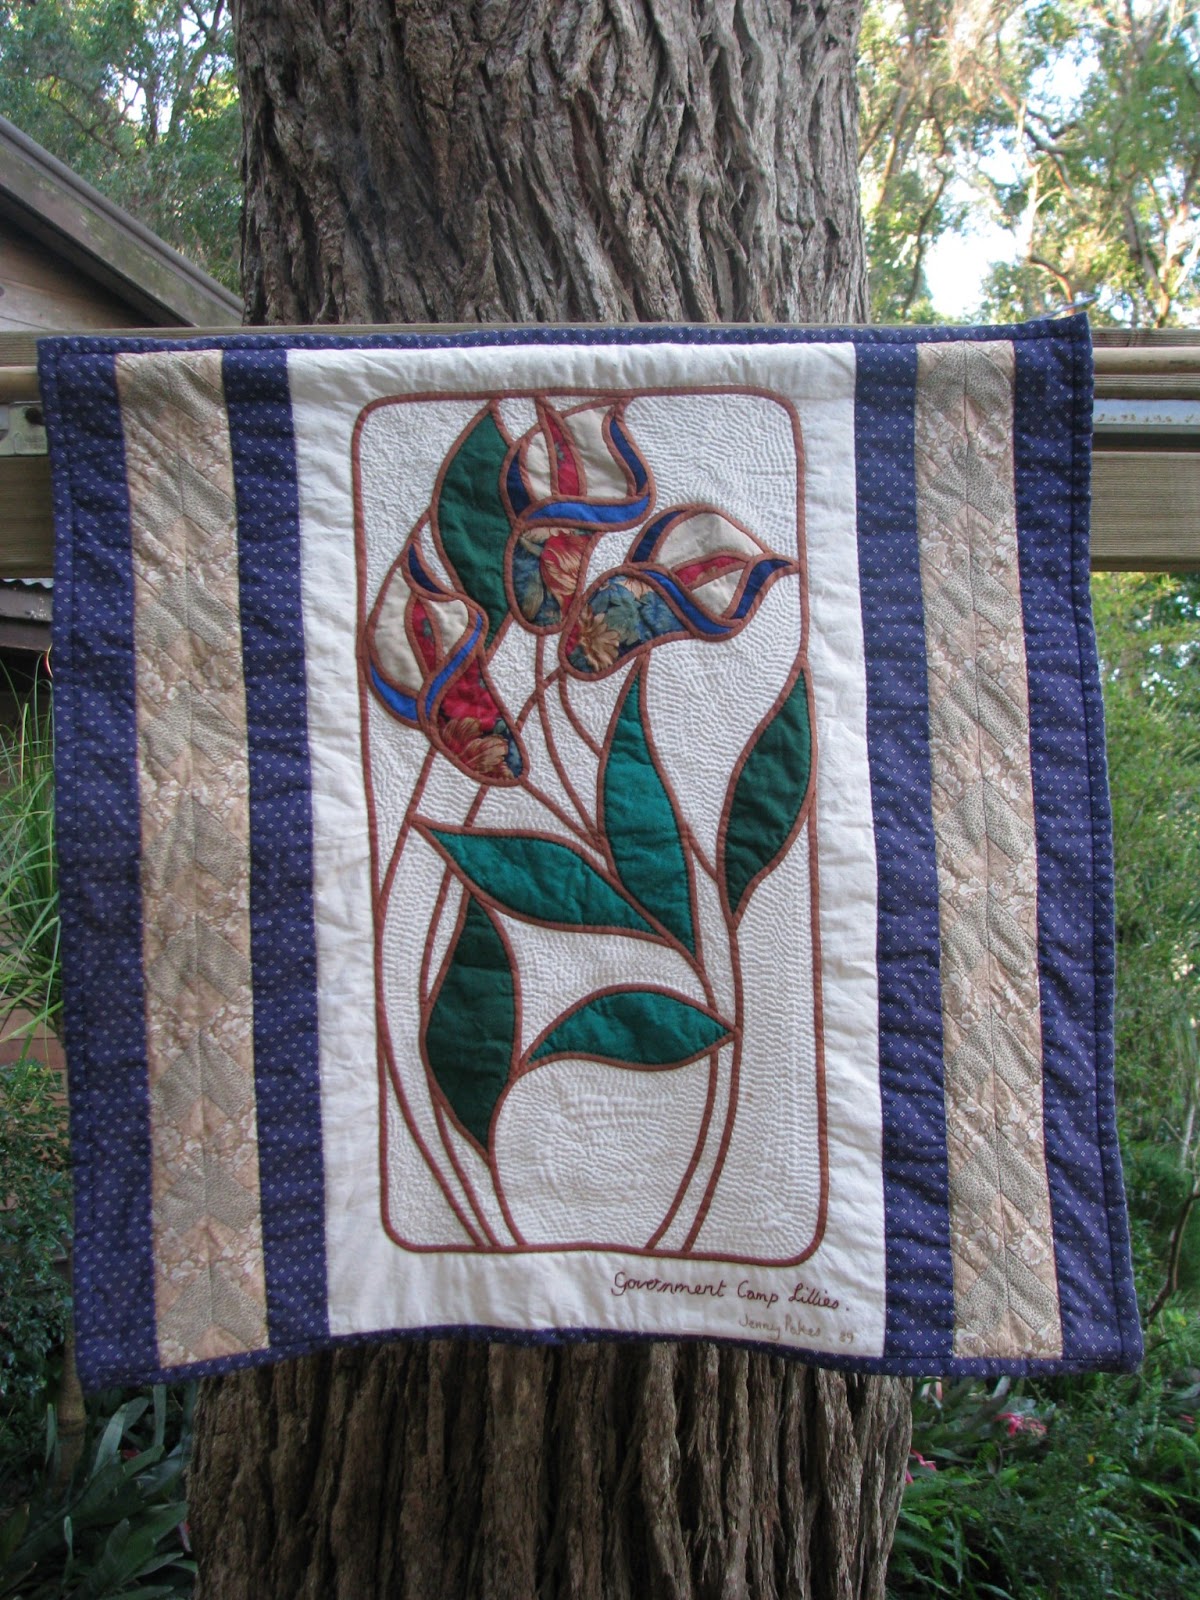
This wonderful signature quilt was given to me on my departure from Queenscliff and the Swan Bay Quilters.  It has a central applique medallion, a black swan typical of the area and is surrounded by smaller autographed blocks.  The idea was to use fabrics from their current project or stash.  I still love it as it brings back many fond memories of my time in Queenscliff and the friends I made.

Just for the Record:
Quilt Finished Size: 68 x 69cm
Block Size: 12” & 6”
Cut in: 1988
Pieced & Basted: Hand 1988
Quilted: Hand 1988
Quilt Type: Friendship
Quilt Finished: 1988
Exhibited: 
Collection: Home# 016
Pattern Name: Signature Blocks around original design Applique Medallion
Pattern Source: Sue Longmore
Fabrics Purchased: Group scraps
Fabric Design: Plains & subtle  pastel prints
Fabric Style: Cotton
Materials Type: Cotton
Wadding Type: Thin Poly Batt
Backing: Cotton

Tuesday 15 January 2013

Stretching Limits

Machine Applique: 1988
We recently had a council "cleanup" day coming up so I used the opportunity to have a bit of an "autumn clean" and found a few extra pieces for my photo gallery.  I had quite forgotten how much I enjoyed machine applique, and used it mostly over a period of 3 to 4 years to decorate our family jumpers or t-shirts.  My poor old Elna got quite a workout and I soon realised how much more I could get done (and sooo much faster too) with a machine. I can't quite remember where or when (late 1980's?) I learned this technique. Lots of fun!

Library Bag (all cottons)
Gum Leaf Top (machine embroidery over cotton, silk & leather)

Monday 14 January 2013

Fragrant Bouquet

Fragrant Bouquet: 2014  (Started: 1988)

FINISHED (2014) yay! & photographed at last!!
This was a rather nice set of applique blocks that I made up in classes at the QNH. This pink & blue set, I think, I began the year following Sue Longmore’s beginner applique class in 1987.  I loved the colours (and they are still popular today) but it took me some years before I could decide on a setting because I didn’t want to replicate the sampler quilts I had made before. 

In 1998, I had decided on having a medallion centre and used one of the blocks from a series of applique lessons for the Randwick girls run by Roslyn Taylor in 1997 (based on Mimi Dietrich designs I think?).  I then came up with the idea for a star and took some pains to make up my own setting, design suitable patterns and machine piece it all together, thankfully having leftover fabrics from all those years ago to select from. 

By 2001, I had chosen a rather thick cotton wadding and found myself stumped again when it came time to quilt – the nature of the quilt seemed to suggest hand quilting but the wadding was very difficult to needle.  So, back on the UFO shelf...

In 2013, the blue star points & the border were
machine quilted; and the rest was, ummmm, happening!
A UFO underway but at a snail's pace...
It took some time before I became confident enough to select machine quilting patterns for applique blocks.  Eventually, after gaining a little confidence, I started stippling the star points.  Too many questions and not enough satisfactory answers, so research continues.  And everything is being done back-to-front. This quilt will be finished....it is so close to it.  Well, eventually!
A detail shot showing both hand & machine quilting mix
Just for the Record:
Quilt Finished Size: 171.5 x 171.5cm
Block Size: 12” Hand in 1988
Cut & Pieced in: 1998
Basted: Dec 2001
Quilted: Hand & Machine 2006;2013-14
Quilt Type: Applique Sampler
Quilt Finished: by 13 Apr 2014
Exhibited:  No
Collection: Gifted 3 Oct 2023
Pattern Name: Various
Pattern Source: QNH Applique Workshops
Fabrics Purchased: 1988
Fabric Design: Plains & prints
Fabric Style: Cotton
Materials Type: Cotton
Wadding Type: Cotton Batt
Backing: Cotton


Lessons Learned:
Come back to UFO’s and keep persevering.  Sometimes the only setbacks are failing to look at alternate solutions to problems.  Keep learning – new skills may provide the answers you are looking for.     

Sunday 13 January 2013

Single Wedding Ring

Wedding Ring Block: 1988

The red seems a bit too saturated perhaps....
This was another Fort Queenscliff Quilters workshop.  We had decided to try machine stitching a block as complicated as the double wedding ring and had settled on Mary Ellen Hopkins’ “It’s Okay” method.  I finished this project and used it as a Christmas Tree skirt for our “motel” tree, which still resides with us.  
My “motel” tree was a panel (perhaps from Lincraft) which was sewn and stuffed with wadding.  Add a few bells, beads and whistles and voila! You have a tree to stuff into the car when you’re on the road at Christmas time.

Just for the Record:
Quilt Finished Size: 46cm diameter
Block Size: 18”
Cut in: 1988
Pieced & Basted: Machine 1988
Quilted: Hand 1988
Quilt Type: Group Sample
Quilt Finished: 1988
Exhibited: 
Collection: Home#0 14
Pattern Name: Double Wedding Ring
Pattern Source: Mary Ellen Hopkins
Fabrics Purchased: 1986/87
Fabric Design: Christmas prints & colours
Fabric Style: Cotton
Materials Type: Cotton
Wadding Type: Thin Poly Batt
Backing: Cotton


Lessons Learned:
I still love traditional double wedding ring quilts and one day I plan to do this. Oh, yes I do! Until then, Mary Ellen’s very easy machine sewn pattern made doing this group experiment easy-peasy. Even better, I had just discovered the delights of rotary cutters. 

Saturday 12 January 2013

Smitten by Amish Colours

Amish Houses: 2006  (Started: 1988)

I had been introduced to the exciting colours of Amish quilts and wanted to make something using these specific colour ways.  I chose a traditional schoolhouse block to make up.

Amish colours - well, sort of!
Gradually, I collected colours and purchased a pack from Keepsake Quilting; probably to supplement what I had already in my stash.  I think I started the house blocks as early as our Queenscliff days in 1988.  The blocks languished for many years as I wasn’t particularly inspired after I had made them up.  They just seemed a little pedestrian, even with their night & day theme, if you know what I mean.
Gray seems to help make colours pop
I finally came up with the additional star blocks after flicking through some old issues of Quilters Newsletter Magazine and began to work them up from some of my leftover plains.  I got to the basting stage in 2002 but it still looked dull….
Backing adds that final lift
Then, back in 2006, I found some vivid stars at Craft Depot in Pennant Hills and couldn't wait to get home to undo my basting.  This colourful backing added a bit of zing to my quilt and I started hand quilting the house blocks and stars. Then I machine quilted the border from the back using the stars as a guide, resulting in an interesting star shape on the borders.  Should have done this all over!!!  Always a lesson learned…  Still another UFO off the pile and finished at last!
Just for the Record:
Quilt Finished Size: 98.5 x 167.5cm
Block Size: 12”& 6”
Cut & Pieced in: Hand 1988
Basted: 2002
Quilted: Hand & Machine 2006
Quilt Type: Amish Influence
Quilt Finished: 2006
Exhibited: 
Collection: Gifted 3 Oct 2023
Pattern Name: Little School House
Pattern Source: Unknown
Fabrics Purchased: 1988
Fabric Design: Amish Plains
Fabric Style: Cotton
Materials Type: Cotton
Wadding Type: Thin Poly Batt
Backing: Cotton


Lessons Learned:
Another UFO that waited many years for inspiration to strike! Sometimes it’s quite a pleasure to re-visit UFO’s.  I keep them all in a separate box so that I can challenge myself to finish at least one a year.  
(Previously, I had a couple of boxes, so there is progress, albeit slow!!)

Friday 11 January 2013

Antique Toys #1

Antique Toys: 1988 

Antique Toys made an appearance in my life as part of a group raffle perhaps for the Guild.  I made the duck, a 12” block, in antique colours and rather enjoyed the exercise.  Somewhere in my mind I stored away the idea that ONE DAY I was going to make all of the blocks in this set…..as you do!

Pam coordinated this effort during 1988. Sadly, I don't even have a photo of either the quilt or my block.

(I am never going to find a photo of this block or the quilt that was made as a result of the group's efforts, so I've included my photo of the same block made in 2000 with the Bondi Evening Group for the sake of explanation.)  

Thursday 10 January 2013

Creative Tendencies

Creative Landscapes: UFO (now lost to the Bermuda Triangle of stitching) 

I signed up for a workshop on sewing creative curves by Marcy Paynter (10 Sep 1988) at Geelong Quilters Guild.  It was an interesting effort to make up our own landscape designs.  The design was sketched on card, cut into a jigsaw of shapes and then a variety of fabrics were paper pieced by machine stitching it (a close zigzag) all together.  The concept was good but I flagged when we started to use clear nylon thread to applique the pieces together.  Somehow, plastic thread did not align with my orthodox habits – cotton fabrics and cotton threads….

Needless to say, the piece still languishes in my garden shed waiting to be finished.

Just for the Record:
Quilt Finished Size: cm
Block Size:
Cut in: 1988
Pieced: Machine 1988
Quilted:
Quilt Type: Macy Paynter Workshop
Quilt Finished: Not Yet Finished
Exhibited: 
Collection: Home# 012
Pattern Name: English Paper Piecing
Pattern Source: Macy Paynter
Fabrics Purchased: 1986/87
Fabric Design: Plains & bold prints
Fabric Style: Mixed
Materials Type: Mixed
Wadding Type: Thin Poly Batt
Backing: Cotton

Lessons Learned:
Not my kind of thing.  Perhaps I wasn’t quite ready for this type of “creative” play with various textures and thicknesses of fabrics.  The final issue I had was using monofilament thread (clear nylon).  I can understand why of course, but just couldn’t take to it.  As a result, this piece languished in my UFO box until the final decision about what to do with it was made. Despite my feelings, I believe it was a worthy exercise.


Ed Note:  5 April 2015
Finally I've decided to consign this project to File 13....  It has taken some courage to come to this decision but really, there comes a time to just let go.  This was never a masterpiece in the making or even a personal favourite.  After giving two old projects a new lease on life recently, I made the decision that this little number was never going to improve no matter how much hard work went into it.  So rather than keep fretting, it was time to wave goodbye and take it off my stress-inducing UFO list.  Just so I'll remember it, I've taken a few photos, and I think you'll understand:
A gaudy mix of velvets, cotton, sateen and silk

Paper-pieced back view

This was the original drawing
  All gone, no regrets!  

Wednesday 9 January 2013

Bicentennial Project 1988

Geelong Quilters Guild Bicentennial Project: 1988
This 80's photo does not do my colours justice...
I won an Honourable Mention for my Guild completion block in 20 Aug 1988 in their “Happy Birthday Australia” competition.  I was terribly excited!  This was an original design all hand pieced in rich blues and ochres of our outback landscape.  I called the 12” block, Star of Australia – very patriotic of me! 

I always found the Guild helpful, friendly and creative in their offerings.  I enjoyed many a workshop under their auspices.  They encouraged quilters to set personal standards quite high, which always showed in their exhibitions of members’ works.


Just for the Record:
Quilt Finished Size: Block only
Block Size: 12”
Cut in: 1988
Pieced & Basted: Hand 1988
Quilted:
Quilt Type: Own Design
Quilt Finished:
Exhibited: 
Collection: Donated to Guild
Pattern Name:  Australia Star
Pattern Source: Own Design
Fabrics Purchased: 1986/87
Fabric Design: Plains
Fabric Style: Cotton
Materials Type: Cotton
Wadding Type:
Backing:

Lessons Learned:
I enjoyed the challenge of designing our own block, and although mine was still a traditional design and a bit fiddly to piece up by hand, I was happy with the outcome.  The star shape suited the bold plain colours (chosen to represent our landscape) and I suspect that I had fallen for Amish colour and design simplicity. If I ever was to make more than one of these blocks again I would (now) choose to use paper piecing by machine…
    

Tuesday 8 January 2013

Away from Home

Government Camp Lilies: 1989  (Started: 1988)
(a bit sad after washing
which hasn't helped these frilly edges either!)
This was my first experience of a “live away from home” workshop.  Whoa!  I took a stained glass class in Ballarat offered by the Geelong Quilters Guild 29-31 July 1988 at Sovereign Hill. Yes, we actually stayed at accommodations within the Sovereign Hill complex and shopped at the local store for fabrics. (Well, perhaps not ALL our fabrics but it was a shopping experience and lots of fun!) 


Our tutor was Gail Macklin (Ballarat) and I decided that I would keep this project small (meaning achievable) and use it as a wall hanging. 

The stained glass lilies are hand appliqued and the whole project was hand quilted.  I wanted to finish the pattern with a quick ribbon border (machined Seminole style in Jinny Beyer fabrics).  After binding this quilt, I decided to add some additional hand quilting to jazz up the large negative spaces using a combination of stipple and seeded stitches.  However, this last touch was a serious lesson in making frilly edges and one not to be repeated!  Now I (mostly) finish quilting before binding. 

Exhibited at the Regional Fibre Exhibition in Tamworth in September 1989

Looking a wee bit better back then
(on the line in Tamworth 1989)
Just for the Record:
Quilt Finished Size: 64 x 65cm
Block Size: NA
Cut in: 1988
Pieced & Basted: Hand Applique & Machined Borders 1988
Quilted: Hand 1988-89
Quilt Type: Stained Glass Technique Workshop
Quilt Finished: July 1989
Exhibited:  Regional Fibre Exhibition in Tamworth in Sep 89
Collection: Home# 011
Pattern Name: Workshop provided
Pattern Source: Gail Macklin
Fabrics Purchased: 1987/88
Fabric Design: Plains & dark prints
Fabric Style: Cotton & seeded homespun
Materials Type: Cotton
Wadding Type: Thin Poly Batt
Backing: Cotton


Lessons Learned:
I enjoyed the opportunity to be “fully immersed” in patchwork. Looking back, I realise that I was starting to take what was offered but rather than re-creating the original design, I was adding touches to make these pieces my own. Who could not when you consider the quality offerings of our local tutors and the Guild’s sensitivity to the craft’s development?

Monday 7 January 2013

Beads Galore!

Beading Workshop: 1988

I was interested in perfecting technique too and Ocean Grove Sewing Centre offered a couple of interesting workshops that I signed up for.  One was for beading (13 Jul 88) and another for painted windcheaters.  I think I was still stitching away at the Stumbling Fans and decided that beading was the next layer to be added.  Fear not!  I never got much further than my sampler – I was quickly learning that embroidery was not my thing.
 

Sunday 6 January 2013

Quilting Friends

Geelong Friendship Quilt: 2006  (Started: 1987)

Hand pieced with friendship exchange blocks made by the Swan Bay Quilters.  I added an extra block stitched by me with signed (embroidered) inserts from the Fort Queenscliff Quilters.  I thought my block was an easy one by comparison with some of the other requested designs, but I was advised differently!  I recall machining several of the feathered star blocks – a big test of my machinist skills.  Now that was difficult!  Most of the patterns I chose for those who specified "own choice" ie my choice blocks were from Ruby McKim's book.  Fanny's Fan, my choice came from Jinny Beyer's book "The Quilter's Album of Blocks and Borders."  

What I particularly like about doing block exchanges is that although you get to  sew a variety of blocks, some you might never have chosen otherwise, you still end up with a one-block quilt rather than a sampler.  I was a bit "over" making samplers, although it's a right of passage for beginners.  
These creases are not nice!  Comes from storage
in vacuum seal bags during renovations...
We each specified design and colour way, provided background fabrics (mine was seeded homespun which I’m still a bit nutty about!) and provided any colour specifics.  We then left the ladies to select fabrics from their own stash.  All cottons of course! I asked for everyone to sign their blocks and luckily for me, Elaine dated her block too, so that's how I know it's from 1988.
Pam's block
Hand quilted using a wool batt which needled superbly but has since started to pill through the cotton top.  Very disappointing considering the effort gone into this entirely handmade quilt!
Hand Quilting detail
I have to say that I am not entirely sure when we started this project in 1988 but it took me until 2003 to get the top basted ready for quilting and then 2006 to get the top quilted.  Finally.

Just for the Record:

Quilt Finished Size: 172 x 174cm
Block Size: 12 - 15”
Cut in: 1987
Pieced: Machine 1988
Basted: 2003
Quilted: Hand 2006
Quilt Type: Group Friendship
Quilt Finished: 2006
Exhibited:  No
Collection: Home# 010
Pattern Name: Provided by Members. My choice was Fanny's Fan
Pattern Source: Group Members; Ruby McKim; Jinny Beyer
Fabrics Purchased: 1987
Fabric Design: Subtle pastel prints
Fabric Style: Cotton
Materials Type: Cotton
Wadding Type: Wool
Backing: Cotton


Lessons Learned:
I enjoyed the experience of working in a group swap.  Some of the blocks were challenging to make, but it’s all a learning experience really.  I’m more than happy with the outcome of my quilt but over the years I’ve seen others that were less successful.  Much rests on the experience and skill of group members.  I’ve known people who, less than satisfied with the quality of group blocks or round robin quilt tops, will unpick and re-do them.

I want to also make a comment about the wool batting.  It was great to needle given all the hand quilting on this quilt, however it has left a finish reminiscent of a vintage, well-worn quilt - quite possibly because it shrunk in its only wash.  I am very disappointed (given all the hand work that went into this quilt!) and to this day have never again used a wool batting.  My preference, used particularly for machine quilting to give a nice flat finish, is good quality (thin) cotton Warm Company (USA) product.  Quilters Dream (cotton) is better for hand quilting or boro work (i.e. using a thicker thread like Perlé). 

Note:  I've just discovered my templates for our exchange blocks.  They were:
Sue: House (of our choice. I did the Queenscliff Neighbourhood House)
Marion: North Carolina Lily
Keri: Sun Bonnet Sue
Val: Basket of Tulips
Pam: Star (of our choice. I did a Mexican Star)
Elaine: Weathervane
Dawn: Radiant Star
Jan: Applique (of our choice. I did an Ohio Rose)
Mine: Fanny's Fan

Saturday 5 January 2013

Change of Perspective

Guild Workshop:  Colouring Fabric 1988 

I was lucky enough to get a place in Deborah Brearley’s Fabric Painting Workshop, 4 Jun 1988.  Deborah was into her work with cyanotype and I see (from doing a little more net surfing!) that the QNH now operates a gallery on its premises and had Deborah’s work on show in 2012.

Anna Atkins (see wiki)
Not only was this day a chance to work with Deborah Brearley and learn from her, but this Geelong Quilters Guild workshop was play time – big time!  We had a great day dabbling with Pebeo fabric paints/dyes and made some interesting and useful samples. I particularly enjoyed the basic introduction to shibori work.  

It was also a useful connect with the art I had studied over the years in Brisbane and made me realise the possibilities for moving away from quilting’s traditional form.  I suspect that I was still in learning mode however and didn’t feel that I wanted to delve headlong into art quilts at that time.  I was (and still am) inspired by graphic forms produced from traditional blocks and modern colour.

I enjoyed this course so much and was so inspired that I have since taken a number of courses in fabric dyeing and texturing.   Not that I have produced too much in the way of work with the pieces I’ve painted or dyed since….  Oh well, one day!

Friday 4 January 2013

Vintage Tea Cups

Tea Cups in Lightning: 1989  (Started: 1988)
Tea cups were used to mark quilting lines
A machined foundation pieced log cabin block made with the Fort Queenscliff Quilters in 1988.  Lyn Cross (may have?) led this group workshop in 1988 following on from either a demo or showing in 1987.  Patterns were provided at the class and we used thin white cotton as our foundation for each block.  I chose a brown and cream colour way – very safe and very neutral. And now just so vintage!  This style of machining was easy and accurate, so we had our required number of blocks ready, and by the end of the day most of us took a top home.
We chose to attempt a lap quilt size, given our busy lives and being somewhat daunted at the time needed to hand quilt (another) finished top.  I set the log cabin blocks in a streak of lightning setting and then tied in the centre of each log cabin with perle thread.  Each block was then hand quilted with a fan to highlight the log shapes.  Finally, I did a traditional tea cup quilting design (overlapping circles) in the border, also by hand.
The batting was a very low loft poly and overall added to the vintage look that I was attempting.
Perhaps you remember some of these fabrics?  Classic  80's
Just for the Record:
Quilt Finished Size: 93 x 138cm
Block Size: 19cm
Cut in: 1988
Pieced & Basted: Machine 1988
Quilted: Hand quilted and tied 1989
Quilt Type: Foundation Piecing Workshop
Quilt Finished: Apr 1989
Exhibited: 
Collection: Home# 009
Pattern Name: Log Cabin set in Streak of Lightning
Pattern Source: Workshop
Fabrics Purchased: 1988
Fabric Design: Plains & vintage look prints
Fabric Style: Cotton
Materials Type: Cotton
Wadding Type: Thin Poly Batt
Backing: Cotton


Lessons Learned:
I was starting to learn that to finish quilts and workshop samples I needed to keep them small so my preferred size became “lap quilt”.  This quilt was fun and easy introduction to foundation piecing and better yet, needed little quilting.  My Elna (blue top) purchased many years ago was earning its keep although perhaps not quite how my mother had intended.  We had bought the machine together at Myer in Chermside (a Brisbane suburb) after I had agreed (more or less) to make more of my own clothes.