Showing posts with label bags. Show all posts

Monday, 15 December 2025

Nanny Cool

 March 2025

We are finally home and trying to settle back into land life after our 12-month stint on a sailboat.  Living an itinerant life or just living onboard for such an extended period certainly is possible, but not for me.  I miss home, family and my “creative” outlets too much.  However, in that time I did discover that some types of handwork are practical in calm weather ;) so I will now prep up a workbox for next year.  I did wonder whether his Captainship might ever like to take to a quilting cruise with me?

Right now I’m working on my annual UFO audit.  Fifteen and counting…  And my machine needs a service too, so that’s added to my list of chores.  We are sliding into winter though, and that means it will be a good time to do some machine quilting, so it shouldn’t be long before I have a few finishes to report.  Famous last words.

All is not lost (in theory) however, as Miss P has shown an interest in sewing.  She & I spent a few days on my little Janome, sewing up a cross-shoulder bag for her library books.  She chose her fabrics and colours from my stash.  We had some fun, with an Australian theme for the exterior and strap, and then a flock of friendly chickens on the inside (lining).  After a quick demo, she was off and sewing, with enthusiasm, on the Janome.  It’s fun being a Nanny!

The pattern for her very cute Messenger Bag can be found at Zaaberry's Blogspot.

(Best-laid plans!  It's now the December rush, just before Christmas.  Yet another year has slid by and with it my intention to finish off some UFO's before they are pensionable age!  Also, photos of the bag to follow hopefully... finger's crossed.)      

Saturday, 21 December 2024

Scraps 'n Boro

Since making my Hourglass blocks, I’ve decided against trying to find a suitable fabric for sashings.  At least until I get home.  Unless we are hooked up to electricity at a marina dock, solar panels can only produce so much and our fridge & freezer must always come first.  Along with navigation instruments and trusty computers for weather reports.  So, my sewing machine has not seen light of day since we started heading north.  And whilst fabric is nice to have, it adds extra weight to my (one) travel suitcase. I like to travel light.  With all this in mind, it was back to Plan A, which was of course, making bags from leftover scraps.  

Two pieces fairly heavily stitched. Hardly exhibition quality
but it won't matter for an everyday bag or wallet
So now, I’m currently hand stitching scrap pieces – and attempting a bit more boro!  Basically, my process is an assemblage of bits of scraps on a cut-to-size piece of thin cotton batting and a light backing of flour sack cloth.  I think I purchased the flour sack cloths in a pack I found in the cleaning products area of Walmart a few years ago.  They look a bit like a more robust cheese cloth and the whole lot just needles through quite nicely.

The batting size is cut mostly 13 x 8 inches with the cloth backing slightly larger.  Once the scraps are down and held by pins or glue.  I use 1” masking tape as a guide for my stitching lines to keep them straight, then stitch the rest, mostly by eye.  I’m happy doing that (keeping it simple) rather than being too creative with other designs.  Its relaxing and achievable, even on a boat anchored out in the middle of nowhere… 

You can see how I pinned the pieces, then stitched
guiding lines 1" apart, making the final stitching easier
My thread of choice has been Perle #8 in two shades of pink.  A nice big-eyed sashiko needle helps make threading easy too.  

When the pieces are all stitched and any loose threads trimmed, then I’ll decide exactly how best to incorporate these pieces into a project of some sort.  Perhaps a dolls bed quilt for my larger piece?  That might make me rather popular!  Anyway, keeping an open mind for now...

And for the back.  Not sure I want that to be seen!
I'll post a photo of the final product when it is done... could be a while yet!!

Sunday, 11 June 2023

Something Special

Komebukuro (Japanese Rice Bag): 2023

Christmas 2022 passed in a flash and as we were also getting ready for an earlier-than-usual departure to join Miss WJ3 in the delightful Chesapeake Bay, I didn’t find time for a whole lot of stitching.  Including finishing quilting that last quilt sitting idle in my “ready for quilting” box!  Such high hopes! 

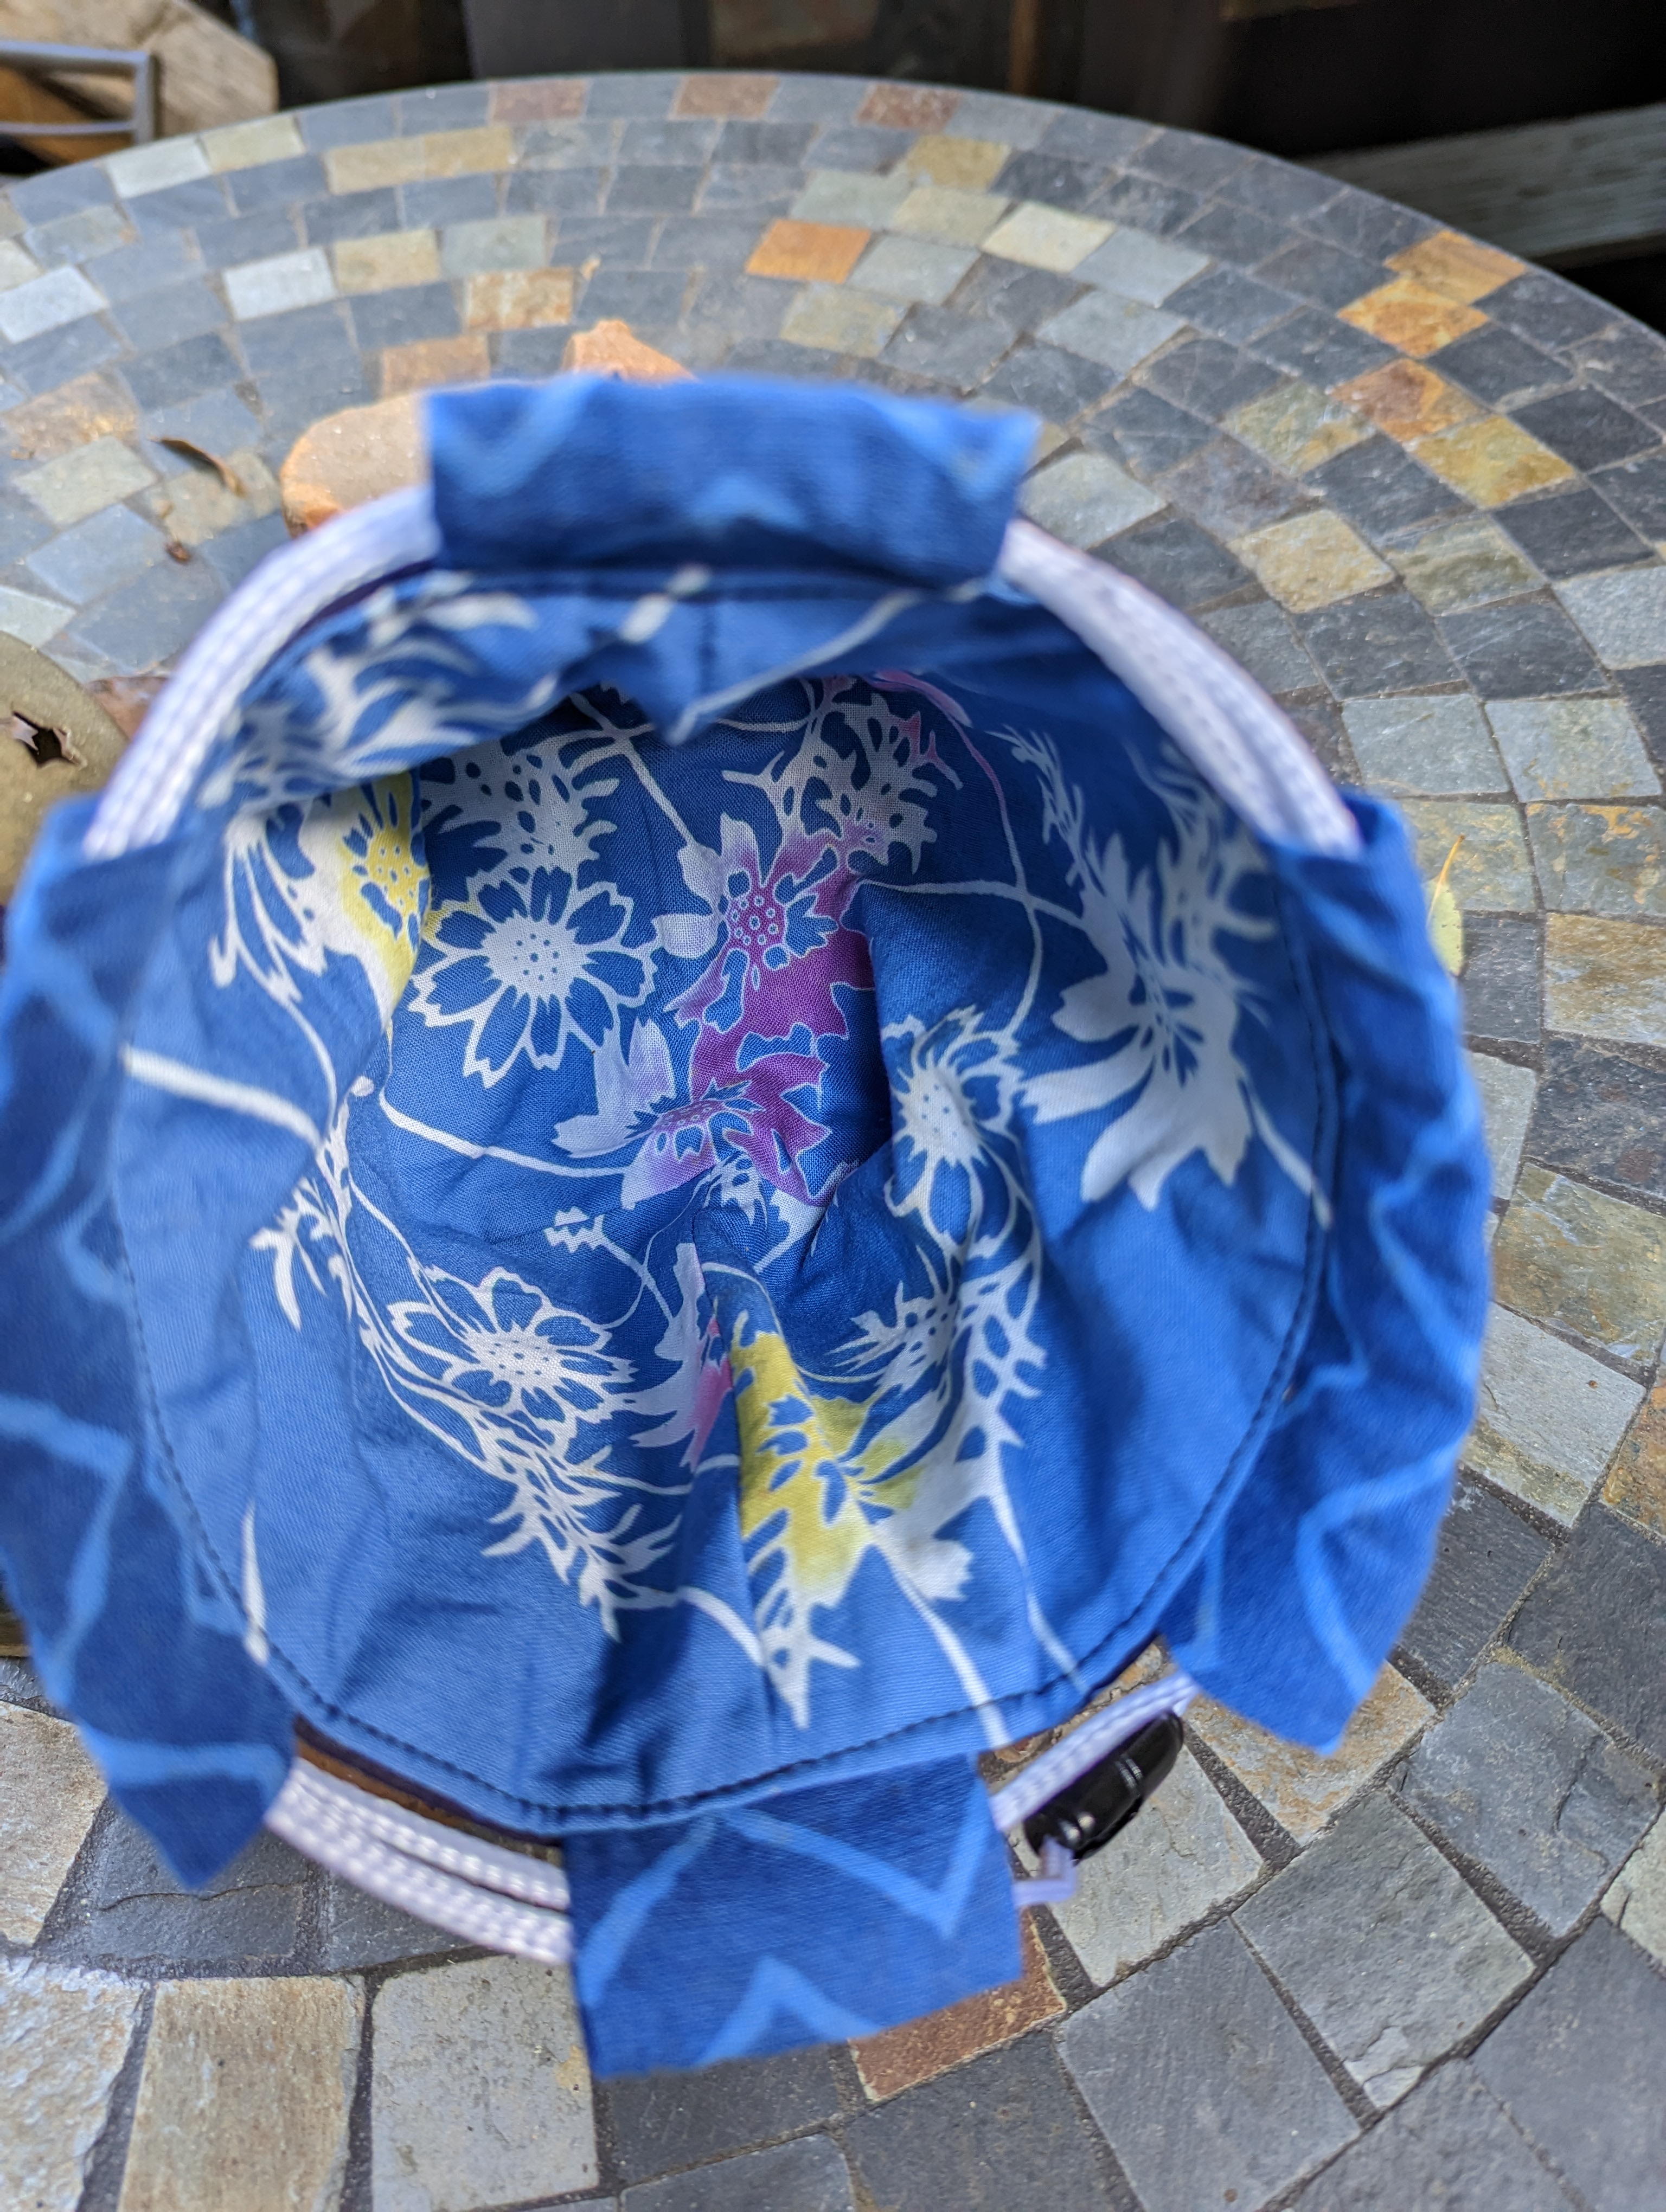
It was #1 son’s hasty change of plans to move north (a sea change) that made me think about a fairly quick gift for him to take away.  I had enjoyed making my earlier versions of a Japanese Bag, so on 29 Jan 23 (2 weeks before our overseas departure date – oh the pressure!) decided to make a very small boro stitched one for this occasion.  Of course, I delved into my box of precious Japanese fabrics, selecting a Katazome design as an outer and a Yuzen for the lining.  Well, I hope I got the correct fabric types!

Boro is my current new fad.  I’d taken to finishing my Joan Bag pieces using this method, but kept the stitching linear so as to not detract too much from the fabric design. (This piece was given to me by Joan.)  For the same reason, I chose not to do any fancy boro twists & turns, but stick to a linear design.  All the better to see my pretty Japanese fabrics. 

The pattern I chose this time, was a Swan Pattern; a small knot bag.  As I was using quilt wadding behind my stitching, the ties were thus too heavy (better to use the recommended interfacing instead).  So, I adapted the rice bag closure to non-lined tabs & a cord.


Just for the Record:
Bag Finished Size: H 13.5; W 12; D 8cm (or H 5¼; W 4¾; D 3¼ inches)
Bag Finished: 9 December 2022
Pattern Name: Japanese Knot Bag
Pattern Source: SWAN Family Pattern (see link above)
Fabrics Purchased: Japan, 2000
Fabric Technique (outer):Katzome
Fabric Technique (lining): Yuzen
Fabric Style: Blue &White
Materials Type: Resist Dyed Cottons
Stitching: Sashiko stitch using Sashiko Thread
Wadding Type: Cotton (Warm & White, needled cotton)

Friday, 9 December 2022

Stylish Gifting

Japanese Knot Bags 2021

Again, and after successful home-made gifting in 2020, I was determined to give it a shot in 2021.  I was on a roll!!  I decided to undertake another set of bags made of fabrics selected only from my stash.  This time, I wanted a smaller bag but with a twist; again, a reference to Japanese style.  This time I concentrated on a more traditional knot bag handle design but wanted a “standing” bag – a square bottom.  It needed to be big enough for a large phone or mail (yes, we still get letters, mostly bills ; ) in the post) and would keep keys, masks and other odd bits together if dashing to the shops. 

I settled on a great pattern from sumoftheirstories.com, found on 23rd October.  I cut all the bags out at once (8 Nov) and then started madly sewing until 12th December, cutting it quite fine for Christmas gifting.  I did though, have fun with a Spotlight selection of Aussie flower and bird designs by Jocelyn Proust.  Don’t you just love her modern prints! 

Finished Size of bag: w-4.5; h-7.5; d-2.5 (inches) & w-11.5; h-19; d-6.5 (cms); Finished size of straps or handles: Width: 2in or 5cm; Lengths: long strap L-12 (30.5cm); short strap L-7 (18cm).  Sizes are for your information only and are in accordance with changes I made to the original pattern offered on sumoftheirstories.com to suit my needs.  Once cut out and quilted (onto wadding leftovers), I could make 3 to 4 a day.  

These bags worked up a treat, were relatively simple to make and I think, were well received.  Over the year, I finished off a few more, in all 27 bags completed.  I used them for Christmas or thank-you gifts; many were donated for raffle prizes. 


Wednesday, 2 February 2022

Shopping from Home - oh, stash...

 Making Christmas Gifts (Japanese Rice Bags) 2020

In the interests of “shopping from home” for Christmas gifts in 2020, I decided to make simple bags from my stash for family and friends.  I wanted something that was a useful size, not too complicated to sew and yet looked a bit different.  Take a bow, the humble Japanese Rice Bag, Komebukuro.  Stuart Hillard offers an easy-to-follow tutorial that makes fun viewing. (Link to his Japanese Rice Bag tute here).  Stuart’s pattern is a classic box shape but I wanted something a little more tote-like (probably not a rice bag, then?) with handles.  I’d also seen a pattern with ties rather than handles, a Furoshiki Tie Bag but the pattern was rather complex and used quite a bit of fabric.  BeBe Bold had a nice one but they don’t appear to stock it any more.  It did require quite a bit of fabric making it somewhat of an expensive kit.  This one by Kokka Fabrics looks good too – but I’ve not tried it yet.  (Now that I look at it, the Kokka pattern was similar to the one included in the BeBe Bold kit!) I really loved the little tie handles that made it just so sweet.

Margaret uses hers for her knitting 

Eventually, I settled on a pattern from SewCanShe.  Her Japanese Tote comes together very well and I managed to make two, maybe three bags a day, once I had everything cut up and ready to sew.  I also used wadding leftovers rather than interfacing to strengthen the bag.  I didn’t add drawstrings, they pulled the bags and made them look a bit too unstructured for my liking.  The bags worked up a treat, were relatively simple to make and I think, were well received.

A fun print and who doesn't love polka dots?

Of course I gave them all away before taking a photo.  As you do!  And as we're not quite out & about so much these days, it may take a while until I can locate one for the blog shot...
 

(Ed: Visits made and photos finally taken...only 18 months later!!)